Walkthrough:A Stealthy Approach
"A Stealthy Approach" is the first "Tide of Terror" job in Sly Cooper and the Thievius Raccoonus.
Walkthrough
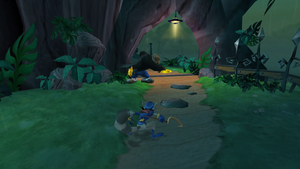
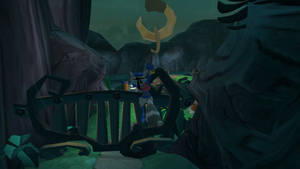
Once you gain control of Sly, proceed through the small cave. You will then receive a tutorial from Bentley on climbing objects, such as ladders, by pressing ![]() . Right beside the ladder is clue bottle #1. Go head left to find clues #2 and #3 on a small platform. Up ahead are clues #4 and #5 sitting on top of the mast of the small, wrecked boat. The only way to get them down is by smashing the base of the mast. To the right of the tunnel's exit are some small treetops where you will find clues #6 and #7. You can also use the rope to reach the cliff and collect clues #8 and #9. You can either drop down or head over to the ladder and climb your way over the fence to make it to the other side.
. Right beside the ladder is clue bottle #1. Go head left to find clues #2 and #3 on a small platform. Up ahead are clues #4 and #5 sitting on top of the mast of the small, wrecked boat. The only way to get them down is by smashing the base of the mast. To the right of the tunnel's exit are some small treetops where you will find clues #6 and #7. You can also use the rope to reach the cliff and collect clues #8 and #9. You can either drop down or head over to the ladder and climb your way over the fence to make it to the other side.
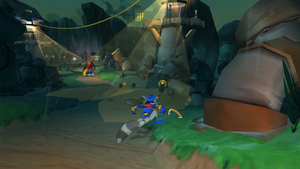
There are some spotlights here, as well as a group of sharp thorns. Clues #10 and #11 are located up ahead, sitting on top of the two breakable Raleigh statues, where you will encounter a shuriken walrus. You can either break the statues yourself or let the walrus do so before you grab the clues. Alternatively, you can kill the walrus before retrieving the clues. Upon heading through the archway, you will activate the first signal repeater that was pointed out by Bentley. As explained, this will checkpoint your progress, and you will respawn here if you lose a life.
Continue along the path until you come across a welding walrus next to a flowing waterfall. Collect clues #12 and #13 on the small wooden platform off the edge of the waterfall. The only way to cross the heavily flowing water is to jump forward continuously. If you fail to clear a jump, you will be swept off the waterfall's edge and into a bottomless pit. Up ahead is another waterfall, this one featuring several rocks that you can use to your advantage, plus clues #14 and #15 are found here. Upon approaching the gate ahead, you will receive a quick tutorial on swinging from hooks. Jump and hit ![]() to grab onto the hook and swing over the gate.
to grab onto the hook and swing over the gate.
What follows is a path of spinning water wheels, which you must carefully leap across to avoid falling in the water. Another set of water wheels lie up ahead, though in between them are fence-like walls that feature openings. You will then reach a path with several spotlights and a shuriken walrus. At the end are the siren and vault, with clue #16 beside the siren. Just up ahead, you will see a small set of water wheels that you must cross to reach the treasure key. Before collecting the key, grab the last four clues in the area and open the nearby vault. At the end of the water wheels is a tightrope that will take you to the top of the searchlight tower, where you can grab clues #17 and #18. Attached to this tower is another tightrope you can use to reach the other searchlight tower, where you will find clues #19 and #20. When you have all of the clues, approach the vault and enter the code provided by Bentley, which is 7-9-2. Once you retrieve the treasure key, you will be able to unlock the gate to Raleigh's hideout.


