Walkthrough:Boneyard Casino
"Boneyard Casino" is a job in "Sunset Snake Eyes" of Sly Cooper and the Thievius Raccoonus.
Walkthrough
Upon entering, you will see a yellow switch on the wall, next to the door. Strike it with Sly's cane, and then enter the casino. Here, you will encounter several doberman pinschers patrolling the isles between the slot machines. Sneak attack each one to avoid detection. If you are detected, you can use the slot machines as cover to avoid taking damage from their machine gun fire. Here, you can collect clues #1 and #2 in one of the isles.
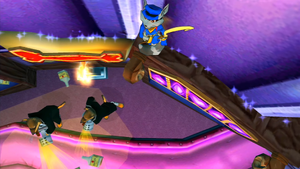
Up ahead near some breakable slot machines (which contain a bunch of coins) is a bridge with floor lasers. Like before, jump to the safe spots to pass by safely. Past this bridge are clues #3 and #4. You will also find two stationary doberman pinschers, shining their flashlights in your path. You must climb onto the high ledge, then ledge sneak along the wall and carefully leap onto the moving sign, then leap onto the remainder of the ledge. Clues #5 and #6 await at the end, a small space. While on the ledge, you can easily drop down to dispatch the guards, allowing you to gather clues #7 – #9. Clue #10 lies on top of the fallen "G" sign. Ascend the rope and leap across more dangling letters to reach the next area. On another "G" sign at the end is clue #11. Jump down below to kill the doberman pinscher standing between the two poker tables.
Behind the rotating doghouse display are a line of slot machines with six clues above them (#12 – #17). Also, after leaping from the glass signs, you can hook swing onto a hook dangling from the doghouse display to cause a load of coins to spill out from the bottom. Clue #18 lies near the breakable slot machine, right before the next set of floor lasers. Placed above the lasers are four clues (#19 – #22), and another doberman pinscher awaits at the end, who will slowly move his flashlight from right to left. Sneak up to him from the sides (whichever is safe) to kill him. Further up is a signal repeater, and you will encounter a dalmatian along with three clues (#23 – #25).
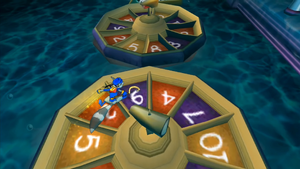
You will then enter into a large, open area which is highly flooded. You must leap across a series of tables and must not fall into the water. On the first tables are clues #26 and #27. Leap across the spinning roulette tables, and you will find two more clues (#28 and #29) on another poker table. You will then find a clue safe containing clues #30 and #31. Two more clues (#32 and #33) lie on another table. These tables also have stationary lasers on one side and floor lasers in some slots. After smashing the siren, leap down to the tables below you, then ascend the rope onto more glass letter signs. Make your way across them, and then jump down below to grab clue #34 on a table. If you stay at the farthest corner of the table, you should be able to avoid the doberman pinscher here.
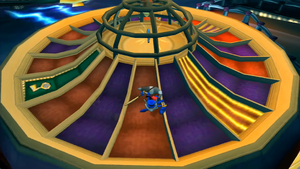
Up ahead are more roulettes to leap across, while avoiding lasers. On a table ahead, you will find two more clues (#35 and #36) and another signal repeater. Leap across the next set of wheels, and you will find clue #37 and the siren on the next table. In the area ahead lies the vault, as well as two clues on the hanging sign (#38 and #39). The final clue (#40) is found just further up. The treasure key is placed within a glass cover in the center of the giant, spinning roulette wheel. To free the key, you must land into the green section by jumping in the direction opposite its rotation. Each time you land successfully, security lasers will appear more frequently. Once done completely, the glass will break entirely, and you can grab the key.


